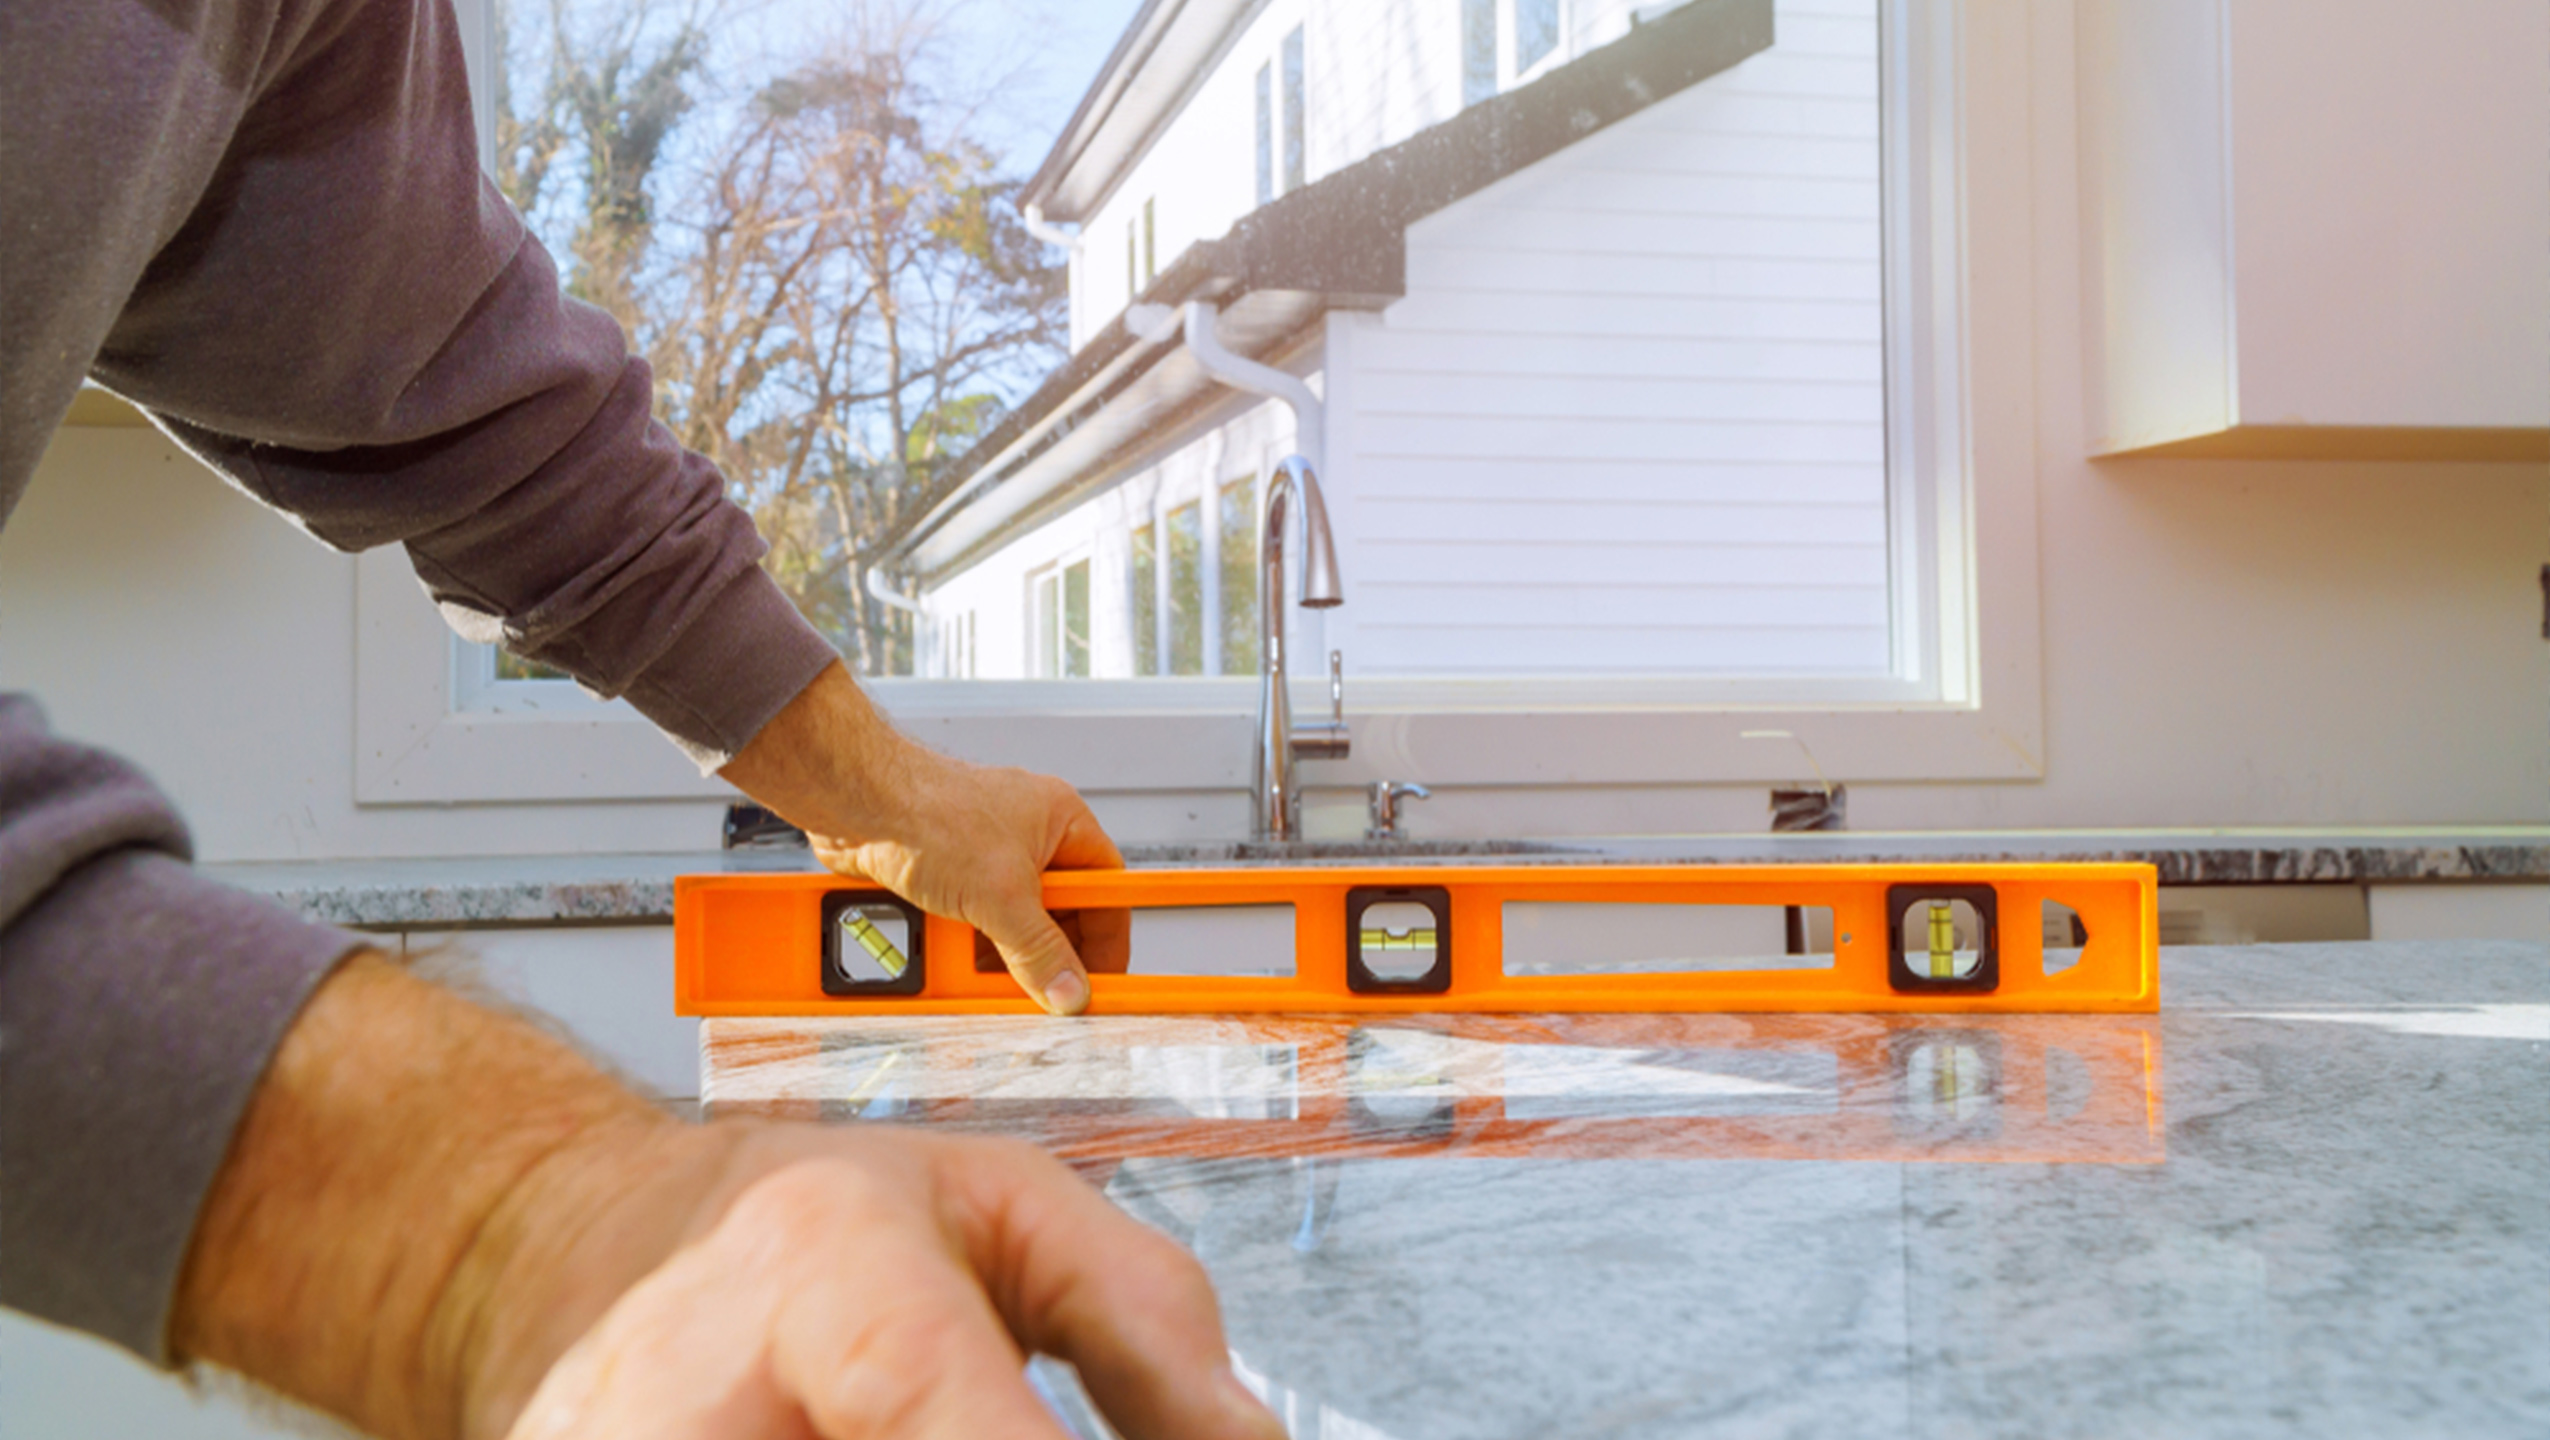
Using the right materials for flooring can significantly enhance your home's appearance. One of the best options for creating an elegant and modern ambiance is granite. Beyond its luxurious look, granite is renowned for its exceptional durability and ability to keep indoor temperatures cool—making it ideal for tropical climates. The variety of available patterns also allows you to customize designs to match your desired home style.
However, to achieve the best results from installation, there are several key factors to consider. Among them is selecting high-quality adhesive. Good adhesive ensures that the granite adheres firmly and lasts long. With proper installation, this material can deliver a lasting luxurious impression, beautifying your home for years to come.
Steps for Installing Granite Flooring
Proper granite installation is essential to achieve a sturdy, level, and durable floor. By preparing the right tools, materials, and procedures, you can ensure a clean and aesthetic final result. Here are the main steps to follow when installing granite:
1. Prepare Necessary Tools and Materials
Before starting, ensure that all tools and materials are ready. These include:
- Granite suitable for the room's design and size.
- Granite adhesive, either a cement-sand mix (1:3 ratio) or instant adhesive.
- Tools such as trowels, rollers, spatulas, spirit levels, rulers, and granite saws.
- Sealers to protect the granite surface after installation.
2. Prepare the Floor Surface
The floor surface must be in perfect condition to ensure proper granite adhesion:
- Clean the floor of dust and debris.
- Repair any damage, such as cracks or holes.
- Ensure the floor is level and dry before applying adhesive.
3. Measure and Cut the Granite
Before installation, measure the granite requirements based on the area size:
- Calculate the amount of granite accurately to avoid material shortages.
- Cut the granite to fit the area using a granite cutter if necessary.
4. Prepare and Apply Adhesive
The next step is to prepare the adhesive for use:
5. Install Granite Correctly
Once all preparations are complete, begin installing the granite on the adhesive-applied area:
- Position the granite as desired and gently press it down using a roller or rubber mallet.
- Ensure each granite piece is level and spaced consistently.
- Clean any excess adhesive from the granite joints.
6. Final Touches (Finishing)
After installing the granite, perform some final steps for the best results:
- Let the granite sit for several hours to allow the adhesive to dry completely.
- Apply a sealer to the granite surface to protect it from water and dirt.
- Clean the installation area to remove dust or stains.
By following these steps, the granite installation process will proceed smoothly, resulting in beautiful and durable flooring.
The Right Granite for an Aesthetic Look
Combining functional and aesthetic design concepts requires high-quality materials. Meliuz Granite offers excellent features, such as exceptional durability, a contemporary look, and practical value. Complementing this, Vellino Granite provides beauty and perfect resilience, making their combination the ideal solution for creating captivating modern interiors. Meliuz and Vellino granite not only enhance your space but also deliver aesthetic value that aligns with today's lifestyle.
By choosing premium granite like Vellino and Meliuz Granite, you can create flooring that is not only sturdy and long-lasting but also radiates modern aesthetic beauty. Make your dream home a reality with the best materials for a flawless finish.
Popular Products
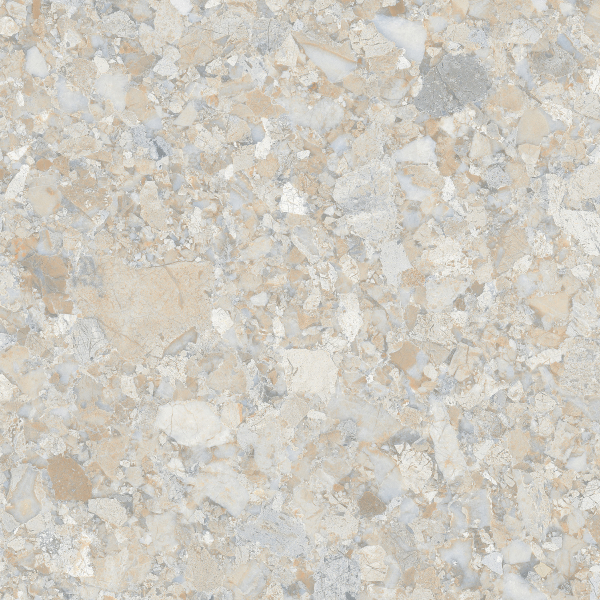
THETA VINCENT BEIGE
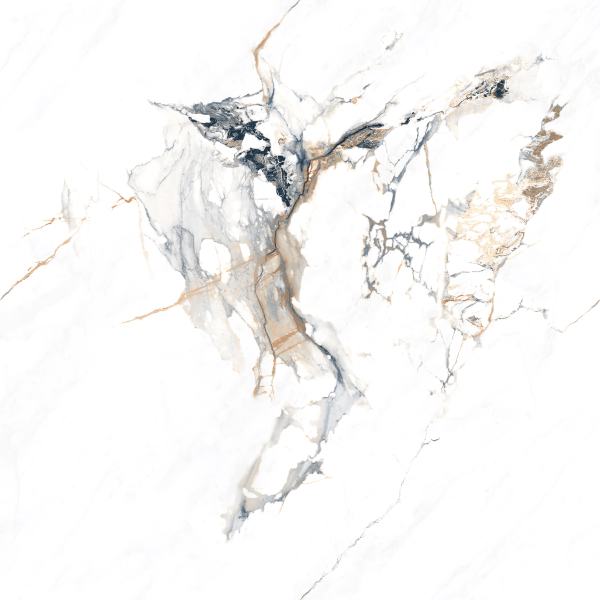
THETA NICOLLI WHITE

THETA RAFFINATO WHITE

THETA GIARDINO WHITE

RUSTIC AVIRA CHARCOAL

