Choosing the right materials for floor or wall installation significantly impacts the final strength and aesthetics. One often-overlooked aspect is the filler material for gaps between tiles, commonly known as tile grout. Although it may seem simple, grout plays a crucial role in ensuring the durability and beauty of tile installations. Understanding its functions, types, and application methods is essential to achieve optimal results.
Introduction to Tile Grout
Grout, the material used to fill gaps between tiles, plays an important role in both floor and wall installations. Besides reinforcing the structure to prevent tile detachment, it adds an aesthetic touch, creating a neat and appealing look. Made from flexible mortar, this material helps prevent tiles from cracking while also protecting gaps from water and dirt intrusion. With these benefits, grout contributes to both the durability and elegance of tiles.
Functions of Tile Grout
Tile grout serves not only as a gap filler but also as a means of providing protection, aesthetics, and added durability to floors or walls. Properly installed grout enhances the appearance and longevity of tiles. Below are the primary functions of tile grout:
1. Seals Gaps and Maintains Cleanliness
Grout seals the gaps between tiles, preventing dust, dirt, and water from seeping in. This keeps the area clean and reduces the risk of mold and bacterial growth, especially in wet areas such as bathrooms and kitchens.
2. Enhances Tile Strength and Stability
Properly applied grout ensures tile stability, reducing the chances of shifting. High-quality grout containing synthetic adhesives also protects tiles from cracking due to pressure or temperature changes.
3. Prevents Water Seepage and Insect Infestation
Correct grout application prevents water seepage that could damage floor or wall structures. Additionally, it seals gaps that could serve as pathways for insects like ants, cockroaches, or centipedes, maintaining a clean and comfortable home.
4. Improves Floor and Wall Aesthetics
With various colors and textures available, grout can complement tile patterns, creating a more appealing look. Neutral tones like white are ideal for minimalist styles, while pastel or monochrome colors add an elegant, modern touch.
Types of Tile Grout
Selecting the right grout type is critical to ensuring the strength, aesthetics, and durability of tiled surfaces. The choice should align with the location and conditions of the installation area, such as damp spaces or areas prone to structural movement. Here are the grout types suitable for various needs:
1. Epoxy Grout
Known for its high adhesive strength and resistance to water, chemicals, and stains, epoxy grout is ideal for damp areas like bathrooms, kitchens, or pools. Its small pores make it resistant to mold and mildew, making it the top choice for long-term durability.
2. Cement Grout
The most common type, cement grout, is made from a mix of cement, sand, and water. Affordable and easy to apply, it’s an excellent choice for dry areas. However, its water resistance is inferior to epoxy grout, making it less suitable for wet environments.
3. Granite or Marble Grout
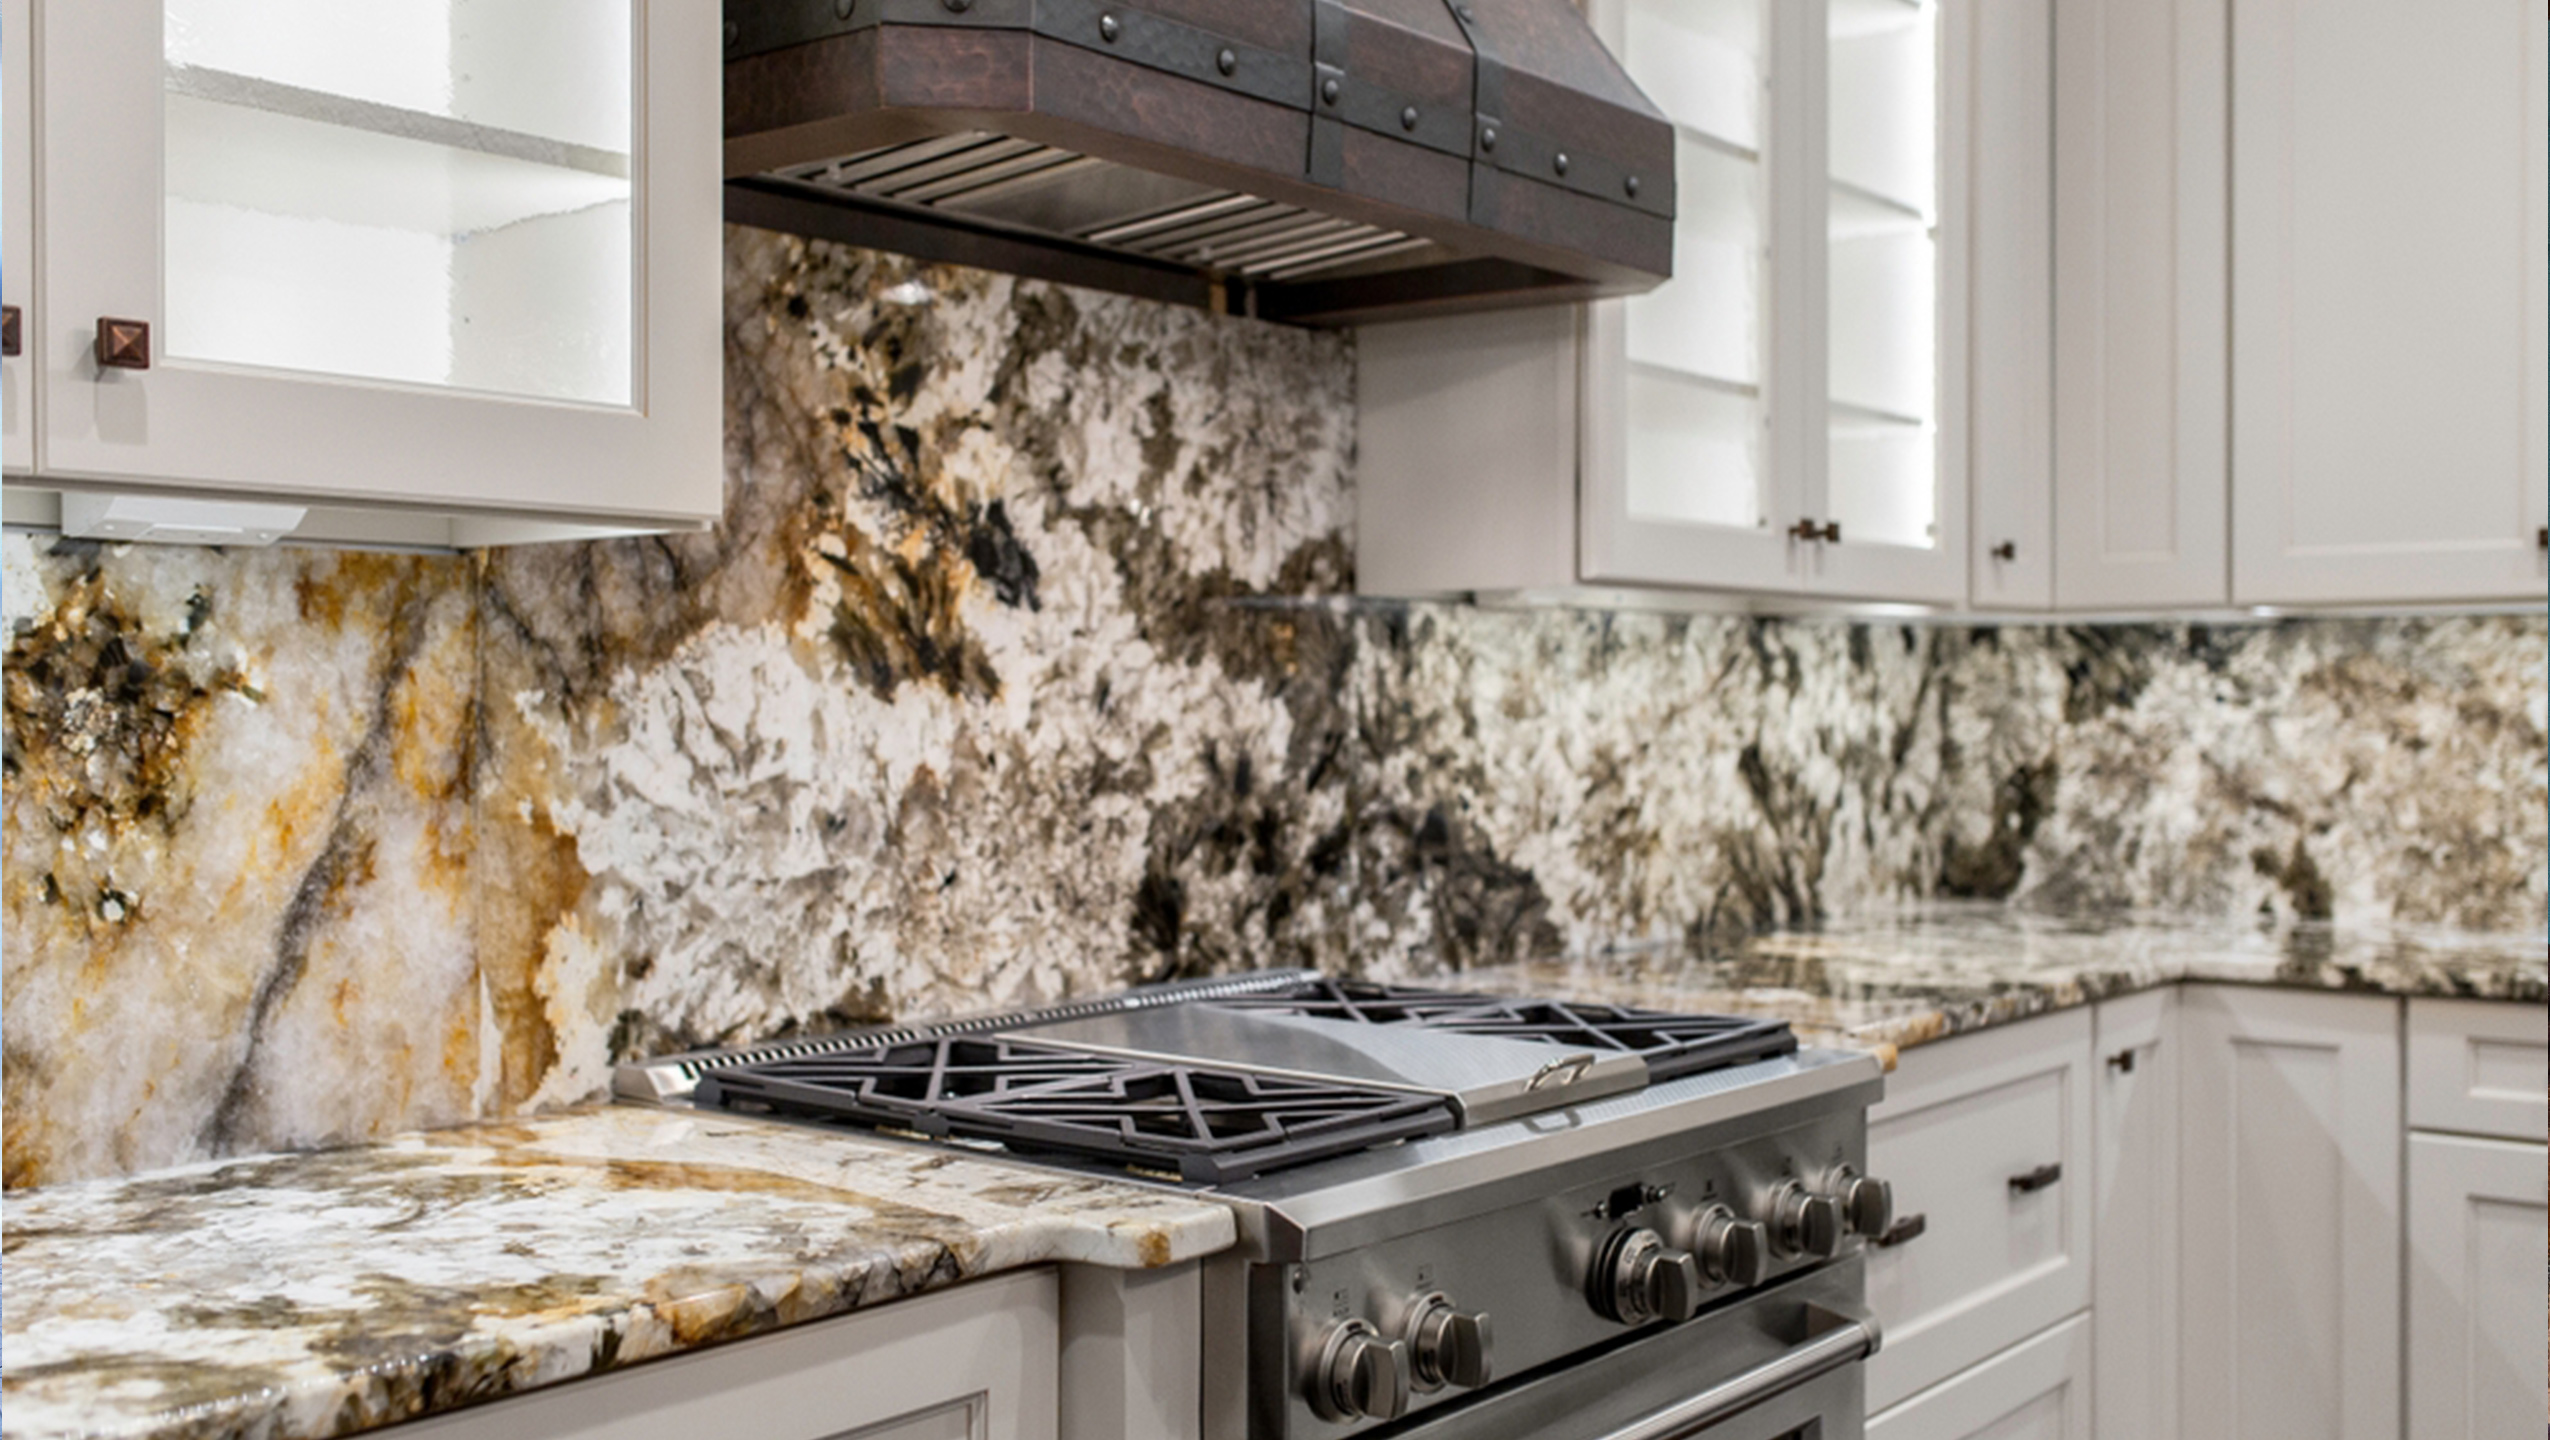
Specifically designed for premium materials like granite and marble, this grout offers high strength and aesthetic appeal. It preserves the beauty of luxury materials while providing extra protection for tile gaps.
4. Flexible or Polyurethane Grout
For areas prone to structural movement or vibrations, such as floors in high-rise buildings, flexible grout is the ideal solution. Its elasticity allows it to adjust to shifts without cracking, offering better durability than other grout types.
How to Apply Tile Grout
Installing tile grout requires precision to achieve a neat and durable finish. The process involves more than just filling gaps between tiles; careful preparation and application techniques are essential. Follow these key steps for the best results:
1. Prepare the Surface
Ensure the tile surface is free from dust, dirt, or cement residue before starting. Clean the gaps thoroughly, especially if they contain dirt or debris, to ensure the grout adheres perfectly. A clean surface also helps the grout dry evenly.
2. Mix the Grout Properly
Follow the instructions on the packaging when mixing the grout. Use the correct amount of water to achieve a mixture that is neither too runny nor too thick. Proper consistency makes application easier and ensures maximum adhesion to the tiles.
3. Apply Grout Evenly
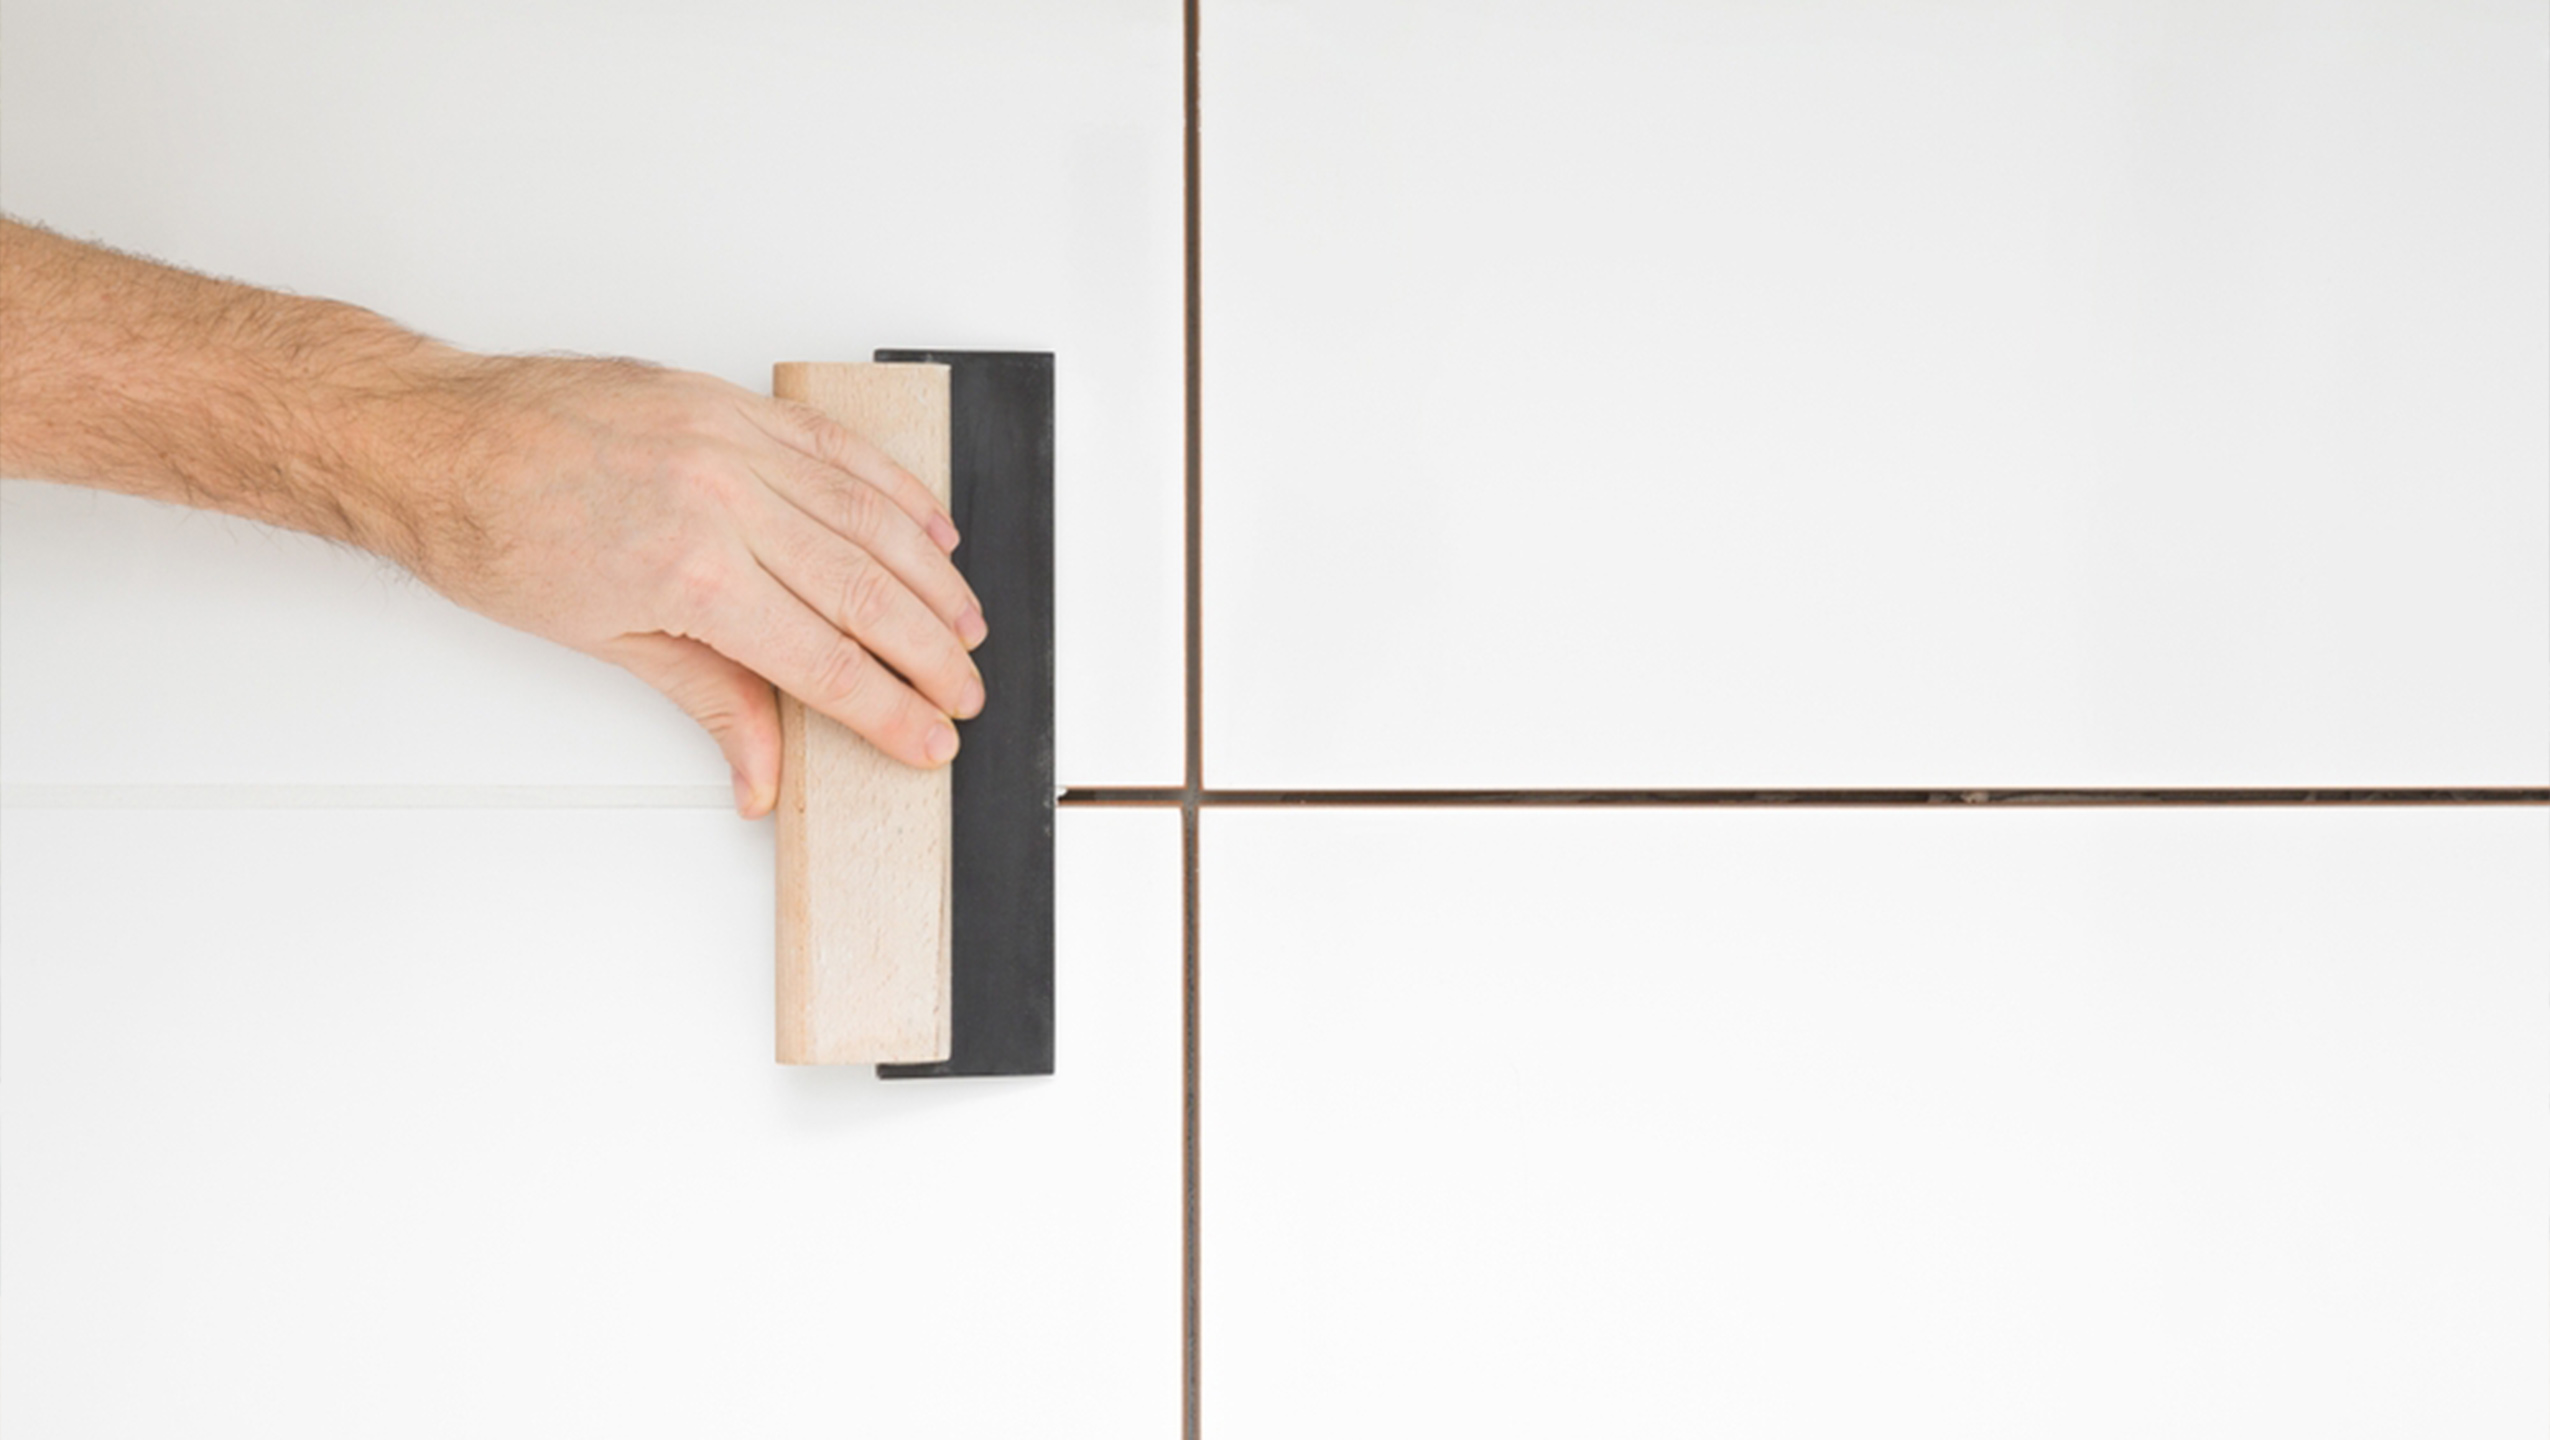
Use tools like a rubber spatula or float to fill the gaps between tiles. Press the grout firmly to ensure it penetrates the gaps evenly, leaving no empty spaces. Pay attention to the thickness, typically around 3 mm for floor tiles and 5 mm for wall tiles.
4. Clean Excess Grout Promptly
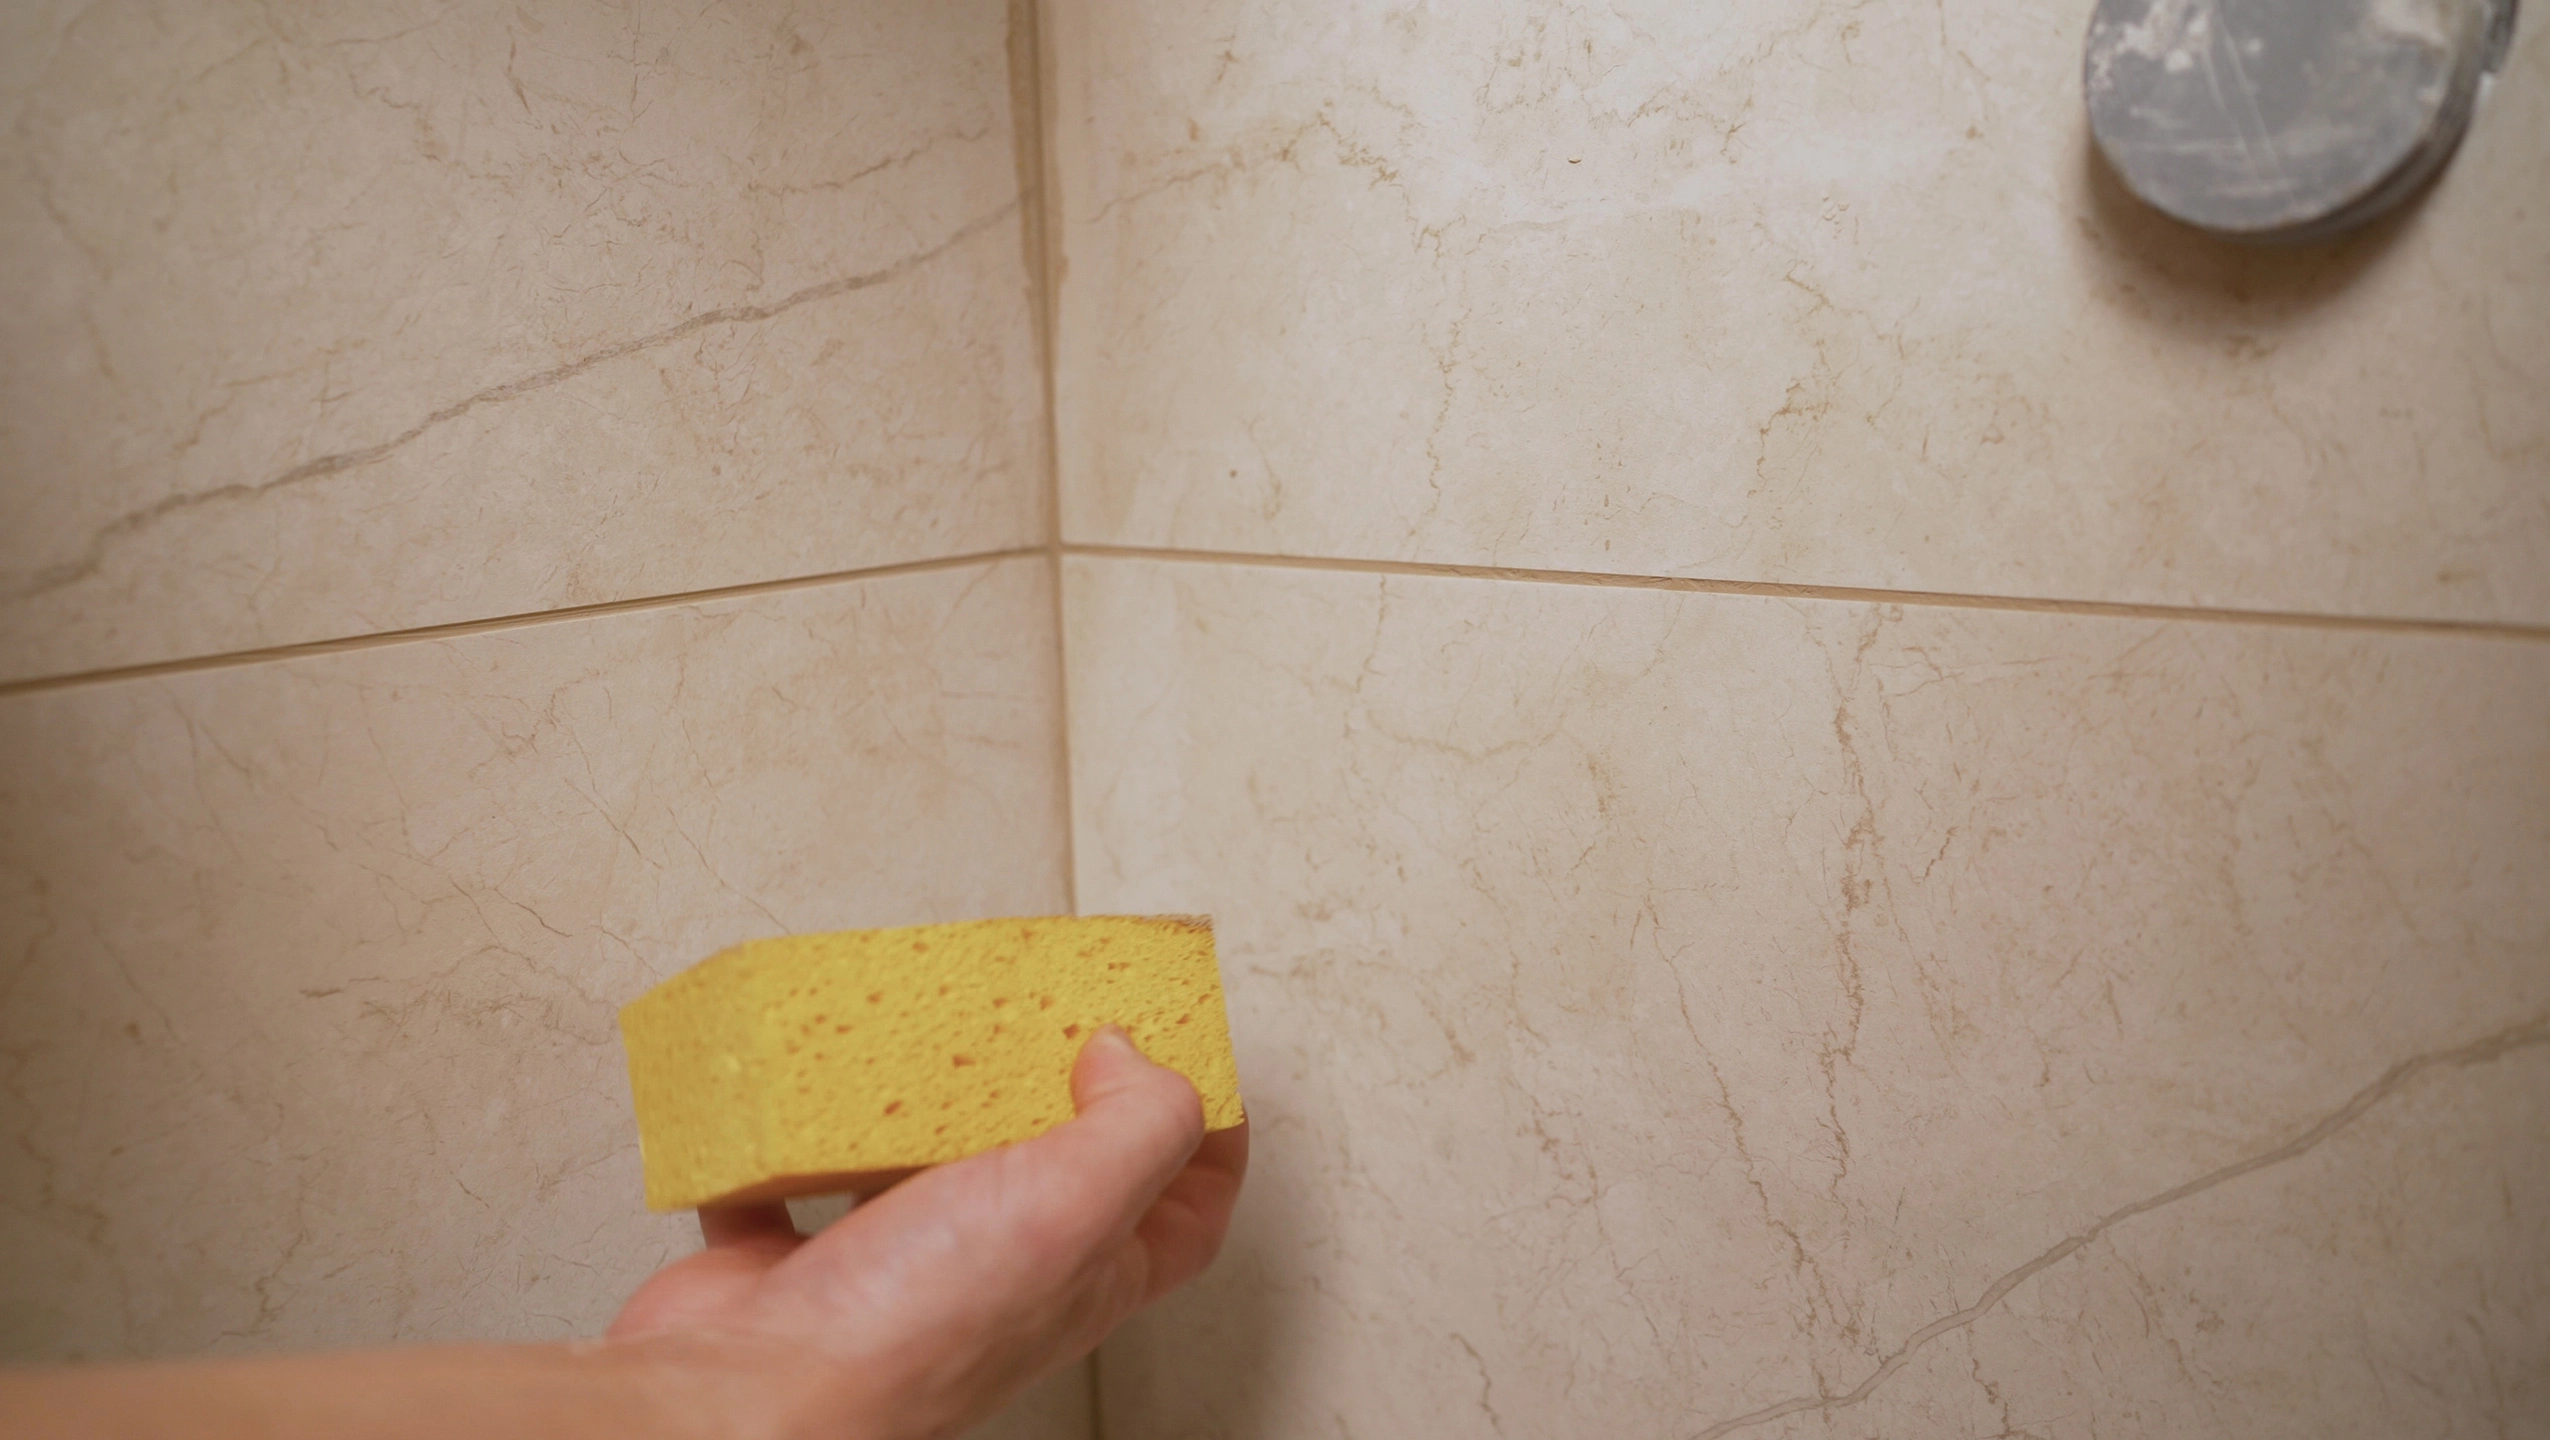
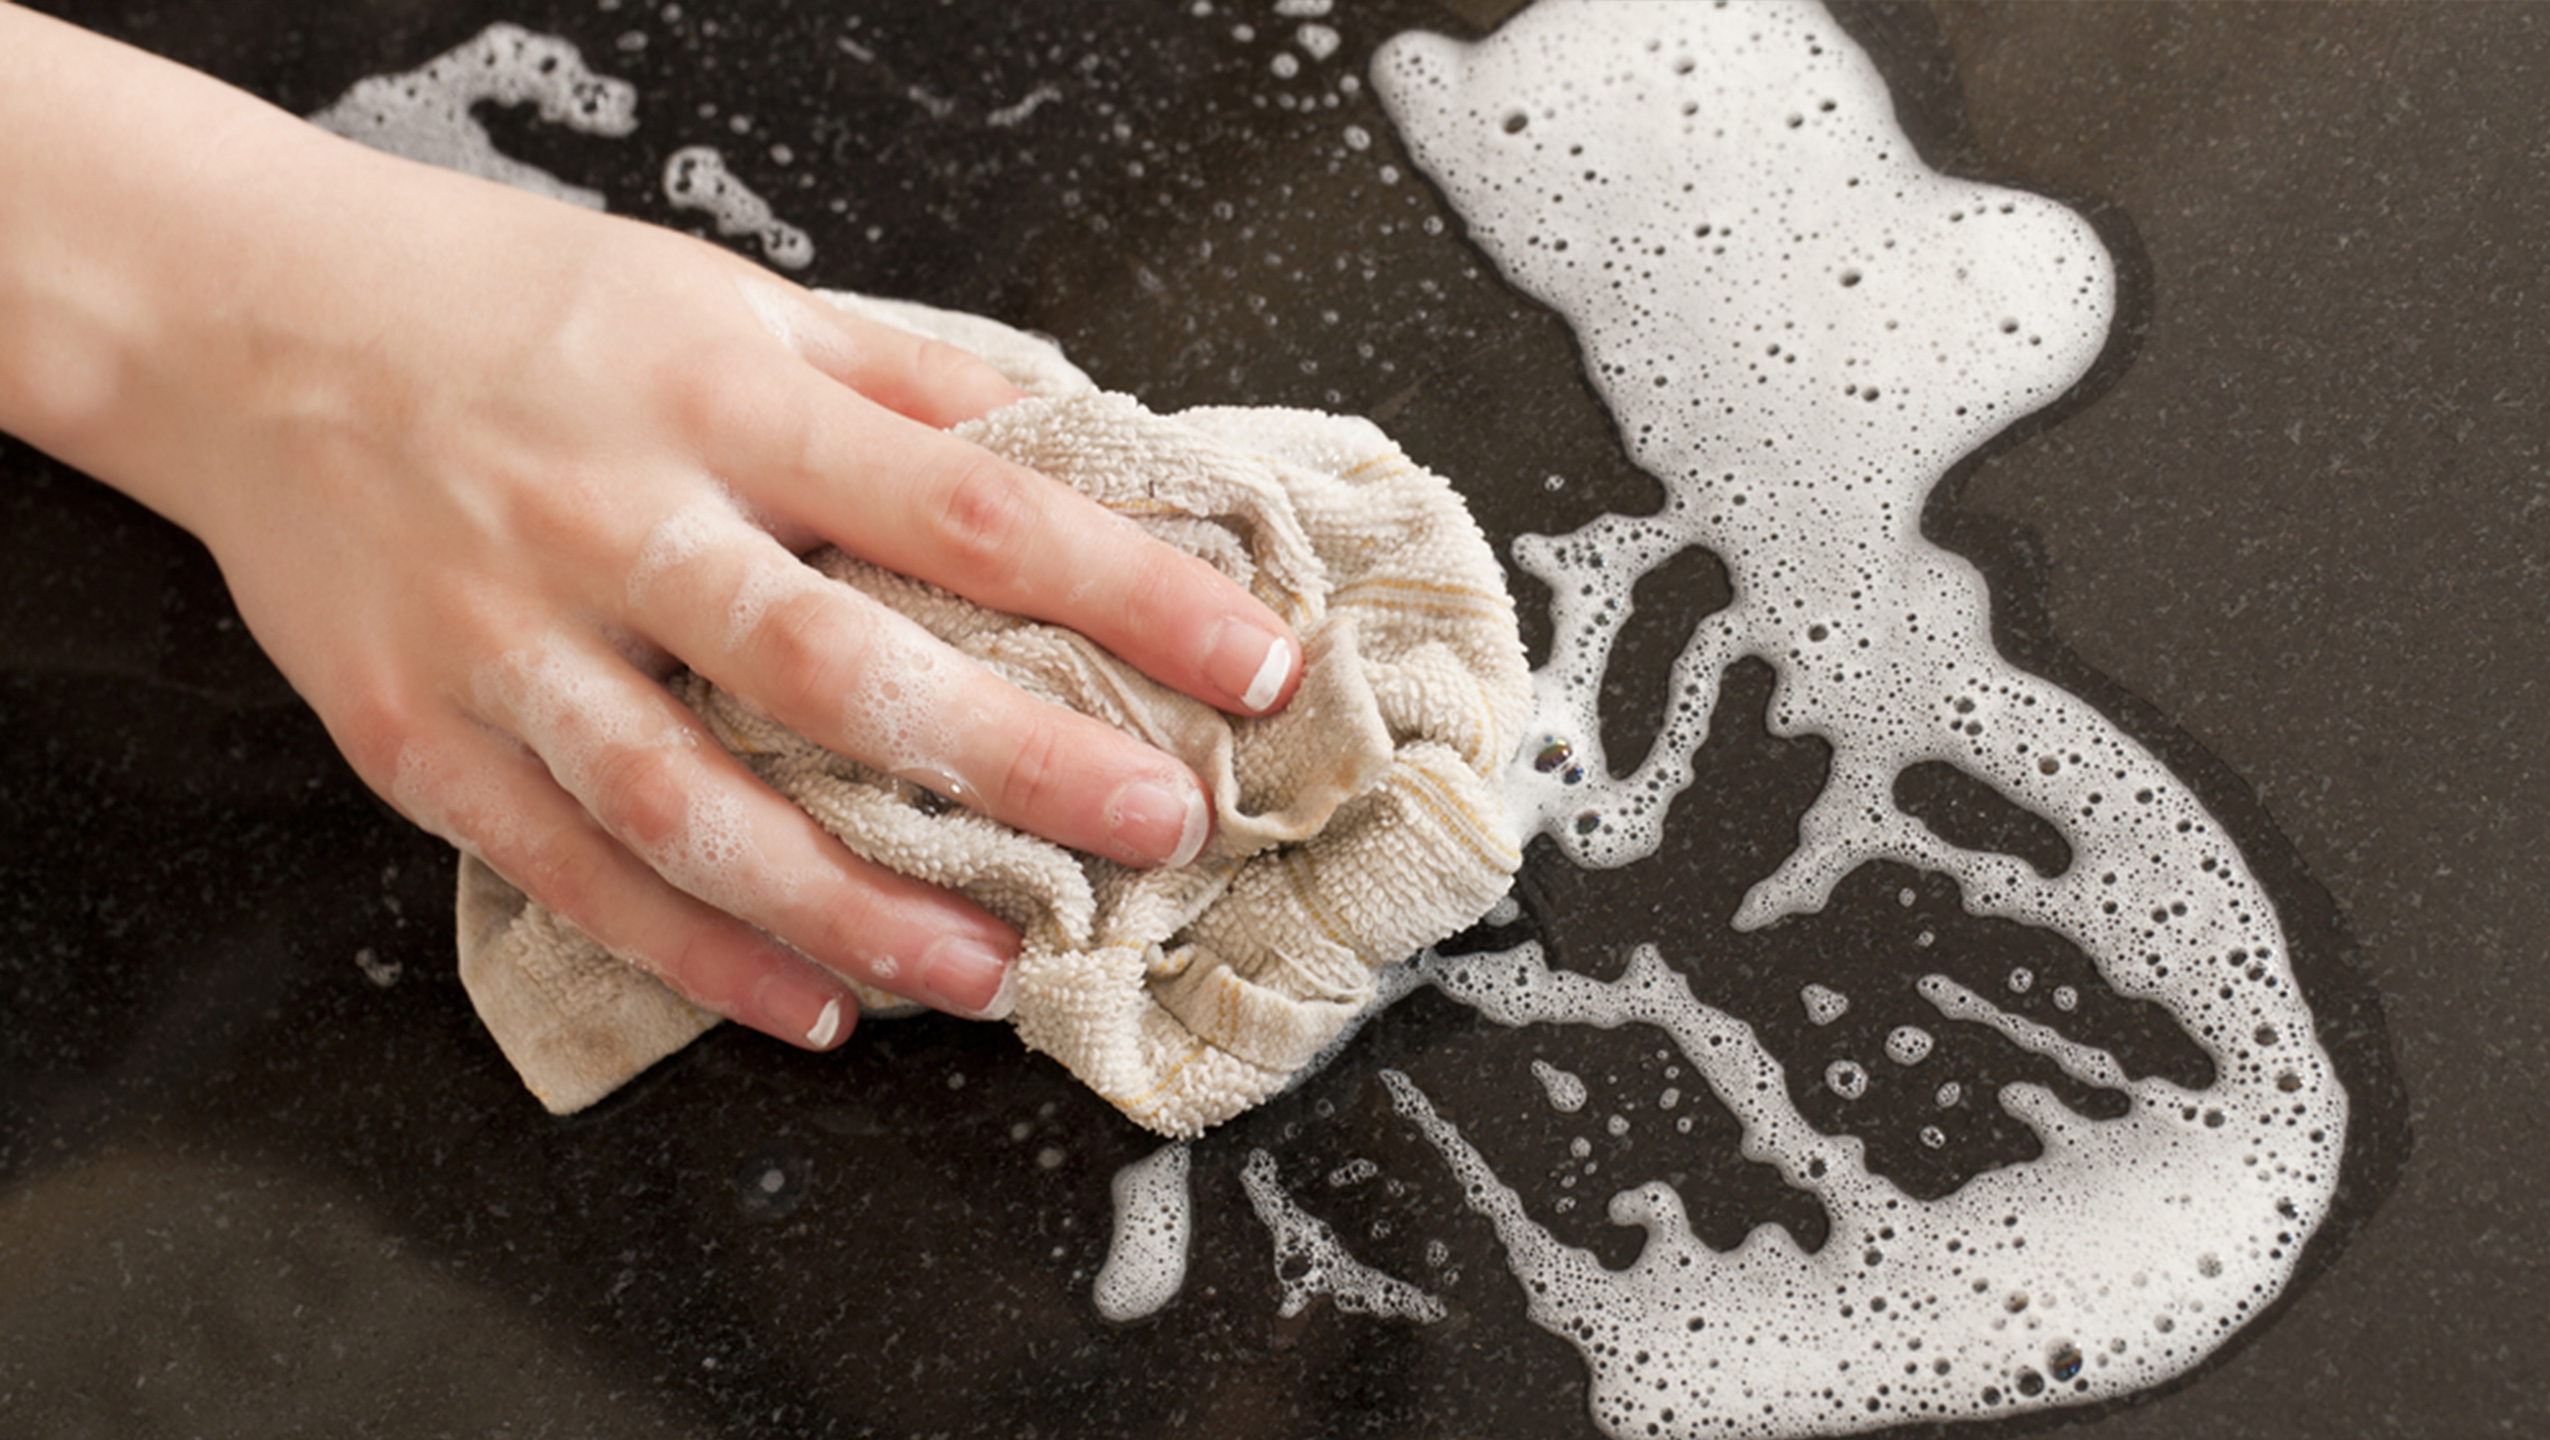
Once the grout starts to dry partially, clean any excess material from the tile surface. Use a damp sponge or soft cloth to remove residue and prevent permanent stains. This step ensures a clean and polished tile appearance.
5. Allow Grout to Dry Completely
Allow at least 24 hours for the grout to fully dry and harden. Avoid touching or using the area during this time to prevent damage. Once dry, wipe off any remaining dust or residue with a clean cloth.
Tile grout, when chosen and applied correctly, provides a durable, long-lasting, and aesthetically pleasing finish for your floors and walls. By understanding its functions, types, and application techniques, you can achieve the best possible results while protecting your tiles from damage. Enhance your space’s beauty with high-quality products, such as Vellino Granite, for a flawless finish.
Popular Products
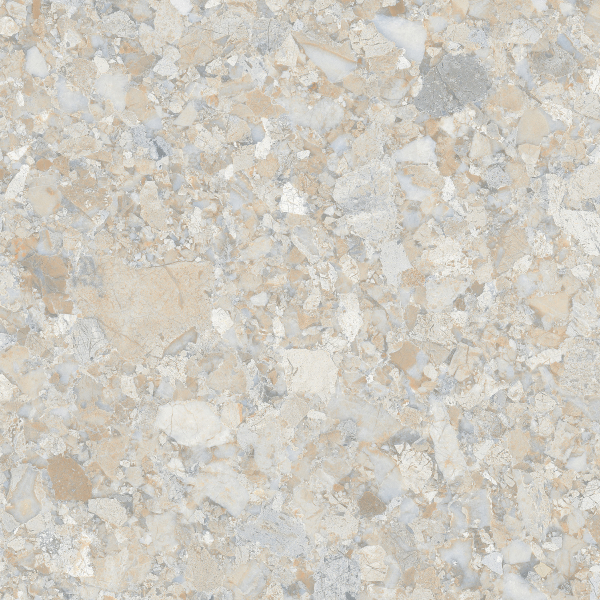
THETA VINCENT BEIGE

THETA NICOLLI WHITE
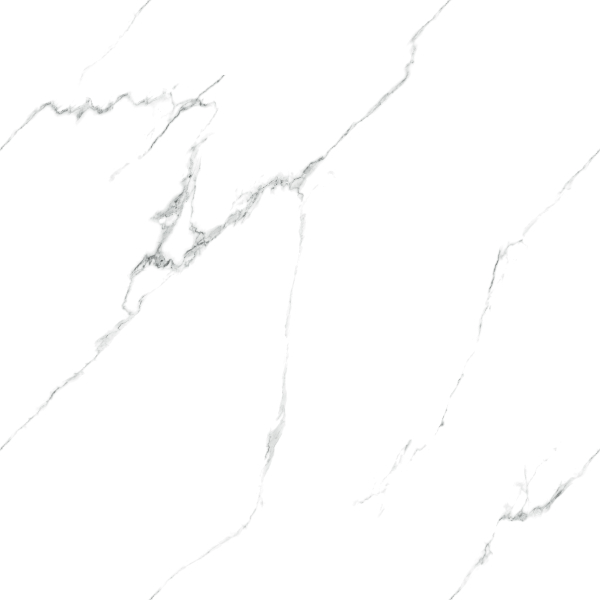
THETA RAFFINATO WHITE

THETA GIARDINO WHITE

RUSTIC AVIRA CHARCOAL

