


Installing granite is not as simple as attaching the material to a surface. Although granite is known for its strength and durability, improper installation can lead to cracking, especially at the joints between slabs. This is often caused by an uneven base surface, using the wrong adhesive, or mistakes during the grouting process.
To ensure a sturdy and long-lasting finish, every step of the installation process must be done with precision. If you're planning to install granite in your home, understanding the correct way to do it is essential. This guide will walk you through each critical stage to ensure your granite installation is not only visually neat but also long-lasting and crack-free.
How to Install Granite to Prevent Cracking
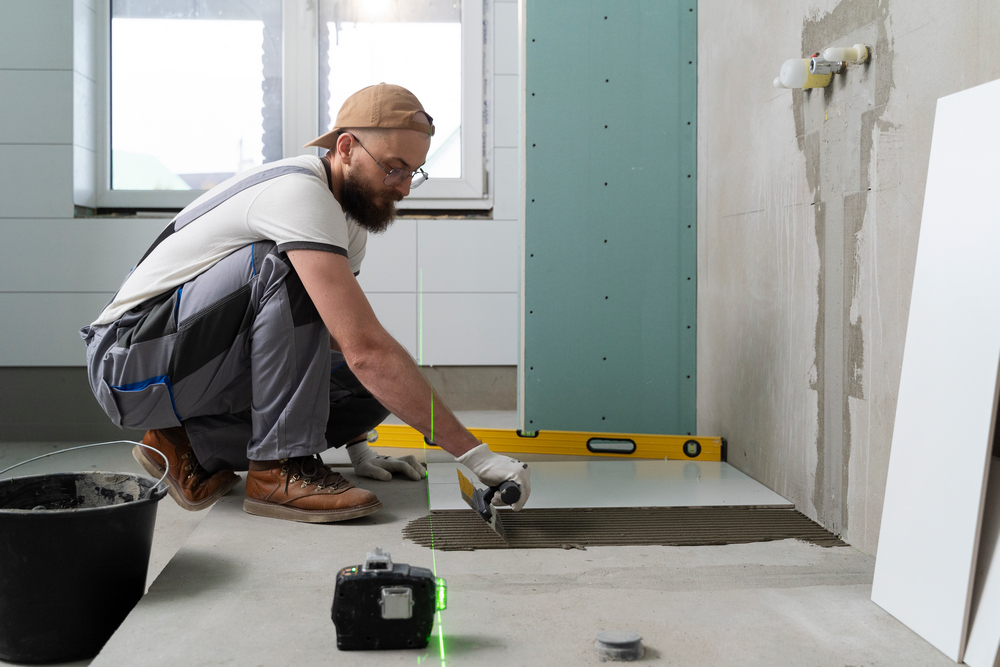
1. Ensure the Base Surface is Level
The first step in granite installation is ensuring the base surface is properly prepared. An uneven surface can lead to uneven weight distribution on the granite, increasing the risk of cracks or breakage over time. For floor installations, use a screed mix of cement and sand or a self-leveling compound to even out the surface. For wall installations, ensure the plaster is fully dry.
In addition to being level, the surface must be completely dry before installation. Any remaining moisture can weaken the adhesive's bonding strength, causing the granite to shift or not adhere properly. Clean off any dust or debris using a vacuum cleaner or a damp cloth, then wait until the surface is completely dry before proceeding.
2. Use High-Quality Granite Adhesive
Choosing the right adhesive is crucial in the proper installation of granite. Avoid using regular cement as it lacks the bonding strength and flexibility needed to support the weight of granite. Instead, use a thin-set mortar or special granite tile adhesive, designed specifically for heavy materials and capable of accommodating slight movements.
Mix the adhesive according to the manufacturer’s instructions, ensuring it’s neither too thick nor too runny. Stir until the mixture is smooth and uniform, then apply using a notched trowel to create an even adhesive layer. This ensures there are no air pockets under the granite, which could lead to instability or future cracking.
3. Provide Adequate Grout Joints
Whether installing granite on floors or walls, it’s important to leave space between each slab for grout joints. Unfortunately, many people skip this step and place granite tiles too close together, not realizing that granite expands and contracts with changes in temperature and humidity. Without adequate spacing, this natural movement can cause pressure between slabs and lead to cracks, particularly at the joints.
Ideally, leave a joint space of about 2 to 4 mm, depending on the size and type of granite being used. To keep the spacing consistent during installation, use plastic tile spacers designed for this purpose. These spacers help ensure uniform and neat gaps across the entire surface. Once the adhesive is completely dry, remove the spacers before proceeding to the grouting stage.
4. Avoid Applying Weight and Vibrations
Once all granite slabs are in place, avoid using the surface or placing heavy loads on it immediately. At this stage, both floor and wall installations need to go through a curing period where the adhesive sets properly, typically taking 24 to 48 hours depending on the product and environmental conditions. During this time, avoid stepping on, dragging items across, or placing objects on the granite, as pressure could disrupt the positioning of the slabs.
If the installation is in a frequently used area, set up temporary barriers and warning signs to prevent people from walking on it. It’s also important to avoid vibrations from heavy machinery or ongoing construction near the site. Keeping the area free of pressure and interference during this period is key to achieving a durable final result.
5. Use Flexible Grouting Material
The final step in proper granite installation is the grouting process—filling the joints between slabs. Grout not only adds to the visual appeal but also prevents water and dirt from seeping underneath the granite. Avoid using regular cement as grout, as it is rigid and prone to cracking when exposed to movement or pressure.
Choose a grout that offers elasticity and water resistance, such as epoxy grout or polyurethane-based grout. These types can accommodate natural granite movement and resist water damage even with constant exposure. Apply the grout using tools like a rubber float or grout gun to ensure it fills the joint spaces thoroughly. Press firmly and evenly to avoid any air pockets that could weaken the structure over time.
By following the correct steps to install granite, you ensure not only a neat and durable result but also that the granite will withstand demanding environmental conditions. For that reason, Vellino Granite is the perfect choice.
With a wide range of elegant designs, this granite is not only easy to install but also extremely durable and resistant to pressure and extreme temperatures. Using Vellino Granite means achieving the ideal combination of beauty, strength, and ease of installation—enhancing both the value and comfort of your home.
Popular Products

RUSTIC AVIRA CHARCOAL

VALLA WHITE